
August 27, 2026
What a Bezel Setting Actually Does
Almost everything written about bezel settings stops at the definition. The interesting part starts after it: what the metal covers, what it costs, and when a prong wins.
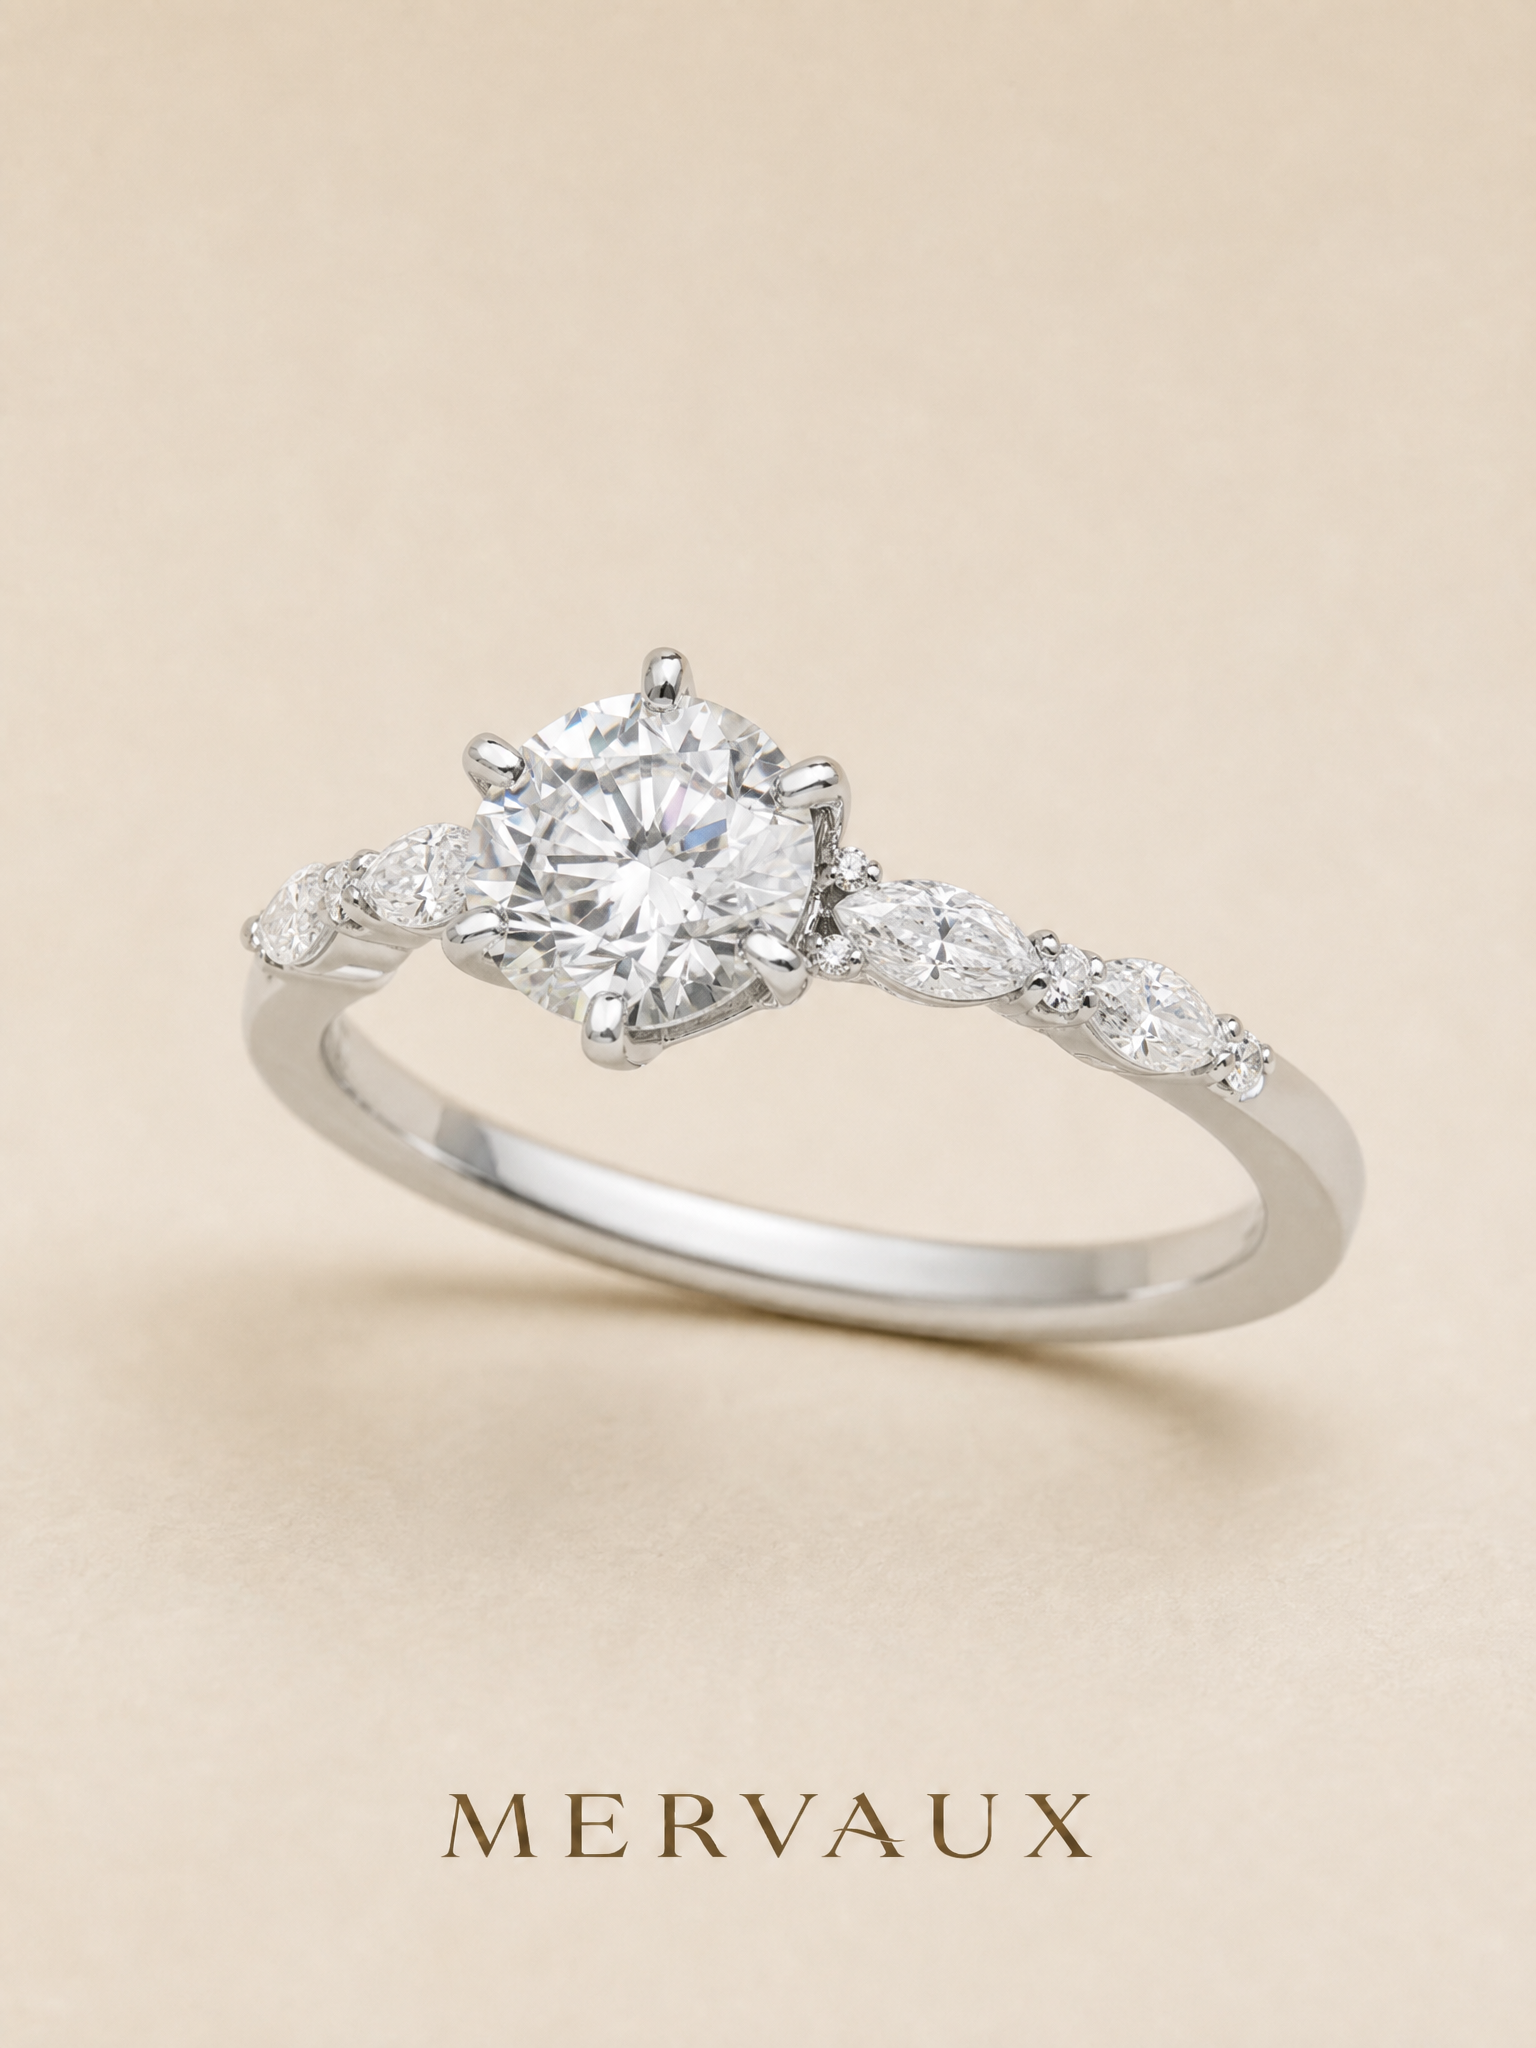
A ring comes off before certain things. Kneading dough. Pulling on a wetsuit. Reaching to the bottom of a bag of dry cat food. Nobody decides this. The hand learns which movements end in a small catch, routes around them, and the ring starts living part-time on a windowsill.
One clarification first, because the word does double duty. On a watch, the bezel is the ring around the crystal, often rotating and marked in minutes. In jewelry it is a way of holding a stone, and that is the sense used here.
The catch, usually, is a prong. Four of them, sometimes six, standing above the plane of the metal and gripping the stone by its edge. They are doing the work they were built for. They are also, geometrically, four small hooks. A bezel is the other answer to that problem.

An emerald cut and a round diamond photographed together on glass, where the amount of metal around each edge changes how wide the stone reads.
What a bezel setting is
A bezel is a continuous collar of metal that surrounds the stone's girdle and is burnished over its upper edge to hold the stone. The girdle is the narrow band at the widest part of the stone, separating the crown above from the pavilion below; GIA describes it as the section that "functions as the diamond's setting edge." A bezel takes that literally. It grips the stone exactly where the stone was cut to be gripped.
At the bench, as the work is generally done, a wall is built slightly taller than it needs to be, a seat is cut inside so the stone rests on a ledge, and the setter works the top of that wall down over the girdle in small increments, rotating the piece rather than pushing through in one place. Nothing clamps and nothing latches. The stone is held by a rim that has been persuaded to lean over it, which is nearer the work between a loose stone and a finished ring than any fastening.
Three things get called bezels. Only two are.
A full bezel carries the wall all the way around the stone, uninterrupted. This is the version most people picture.
A half bezel, or partial bezel, places metal on two opposing sides and leaves the other two open. GIA's description is exact: it "leaves sections of the stone exposed while still providing added security." The compromise position, and not a lesser one.
A rub-over setting is a full bezel under its British trade name, taken from the setter's action rather than the finished form.
A gypsy or flush setting is the one that is not a bezel, despite reading like one from arm's length. The stone is recessed into the body of the metal, girdle below the surface, and metal is burnished inward from the surrounding surface to close over it. No raised collar at all: the stone sits in the metal, not a rim above it.
What a bezel does to light
Here is the part a jewelry house has an incentive to soften. GIA: "Compared with prong settings, bezel settings cover more of the gemstone's edge and allow slightly less light to enter the stone." Of prongs, the same page says they hold a stone securely "while allowing maximum light to enter."
The mechanism is simple. A full bezel covers the girdle and a small margin of the crown above it, so light that would otherwise enter through the upper girdle facets does not. The stone's visible spread ends up a fraction under its measured diameter, and its rim reads a shade quieter than the same stone in prongs.
Both effects are real and neither is large. We sell bezels; better we say it than a reader find it elsewhere.
Where it stops mattering is more interesting. Most of what makes a round brilliant bright arrives through the table and crown facets, not the girdle, so the loss sits at the perimeter rather than across the face. Nor is a polished wall inert: the stone gives up brightness at the edge and the metal returns some in a different register.
There is a useful inversion buried here. A well-cut stone loses least from a bezel, because its brightness was never borrowed from the edges. A weakly cut stone loses most. Bezels reward good cut and punish poor cut, one more argument for settling what the stone has to do first.

Two rings worn on the same hand, showing how a setting's metal wall widens the ring while narrowing the visible stone.
What a bezel protects, and what it conceals
The girdle is not an arbitrary place for metal. It is the part that breaks.
GIA is direct: "Chips typically occur when the girdle (edge) or point of a diamond strikes something hard," and "girdles with very thin places along the sides or at the corners and points are at a much higher risk of damage." Their recommendation names the setting outright: "Vulnerable points or corners are better protected with bezels, partial bezels, or V-shaped prongs."
So the trade in the last section is not light for nothing. It is light for armor, laid over the most fragile line on the stone. Girdle thickness is graded and printed, so you can check before you commit: it has its own field on an IGI Laboratory Grown Diamond Report, reading something like Medium to Slightly Thick (Faceted). A knife-edge girdle in a prong setting sits nearer the limit of its own durability than most buyers realize, reason enough to know how to find that line.
The wearing case follows from the same geometry. Nothing stands above the plane of the metal, so nothing catches on a wool sleeve, a knit glove, a towel loop, long hair, or a child's skin. Nothing to bend when a hand goes into a coat pocket. GIA notes that prongs "should be checked occasionally to ensure they remain secure"; a bezel has no tips to wear thin. Not a case against prongs, but about what a prong is shaped to do, which is hold a stone up into the light, at a cost.
The concealment is the part almost nobody writes down. Inclusions sit at the girdle more often than anywhere else, because that is where the cutter had reason to leave them, and a feather breaking the girdle plane can be visible from the side of a prong-set stone and invisible once metal is over it. Legitimate setting judgment, and also something worth knowing is happening. Read the clarity plot before the setting goes on: the difference between a VVS grade and a VS grade is often a question of where the inclusions sit. Every stone we sell carries an IGI report, and this is where it earns its keep.
What a bezel does to size, in two directions at once
Two things are true and they sound like a contradiction until you separate the stone from the ring.
The stone reads slightly smaller. Metal covers the girdle and a sliver of crown, so what you see is less than what the report measured, typically by a few tenths of a millimeter. Not nothing, on a diameter of six and a half.
The ring reads larger. The wall adds width outside the stone on every side, and that width is polished metal catching light, not empty air. GIA lists the bezel among the settings that make a diamond look bigger for this reason: a band of metal around the girdle enlarges the apparent circumference of the whole.
Both are correct. One is a dimension of the diamond, the other of the ring, and which you care about depends on which you are shopping for.
In practice a bezel is a size strategy at the smaller end and a proportion decision at the larger. A round of about a carat is where the wall does most work: the 1.09 ct in solid 14K white gold, or the 1.08 ct D VS1 in Platinum 950, where a millimeter of metal on each side changes the read of the whole hand. At 4.06 ct the arithmetic reverses, and the wall becomes a question of line rather than scale. Nor is the metal neutral: alloys differ in how they take a burnisher and how a thin worked edge wears, so the questions separating platinum from white gold and 14K from 18K bite hardest at a bezel's lip.

A bezel is chosen for the days a ring is not thought about: a cuff, a coat sleeve, a cup, nothing to catch.
A bezel is a commitment
Resizing is usually fine. A jeweler works the back of the shank, well away from the setting. The complication arrives when the bezel continues around the ring or sits low and close to it, which turns a routine job into a considered one.
Repair is harder than the prong equivalent. A worn or dented wall can be reworked, but every operation on it is an operation on metal in direct contact with the stone. Retipping a prong happens out in the open. Reforming a bezel lip does not.
Resetting is the honest limit. Getting a stone out means cutting or unrolling the metal that was rubbed over it, and the setting seldom survives in usable form. A prong setting gives a stone up gently: bend four prongs back, lift it out, keep the head. So if part of what you like about a stone is that it might become something else in ten years, a bezel is the wrong instrument. It is a decision about the ring, made once, in metal, and that permanence is part of why people choose it.
When a prong is the better answer
Choose prongs when the stone was bought for its brightness and you intend to notice, because GIA is unambiguous that prongs let in the most light. Choose prongs when you want the diamond to read at its full measured spread. Choose prongs when you expect to restyle later, or when the stone will outlive the ring.
Shape matters too. Full bezels are most straightforward on rounds and ovals and harder to execute cleanly on squares and marquises, where corners and points fight the wall. There a partial bezel, or a V-shaped prong over the point, protects the fragile part without asking the metal to do what it will not do. And where a stone carries color, the wall meets its edge directly, with nothing in between. A design decision either way, never a neutral one.
The ring on the windowsill is not a design failure. It is information: a record of every movement the hand made that the setting could not follow. A bezel is an attempt to shorten that list, not by being tougher but by being lower, by ending the object at the plane of the metal rather than above it. What it gives up is a little light at the rim and most of its reversibility. No specification settles that trade. It is settled by which movements you are unwilling to route around, and the answer shows up in the ring you stop taking off.
Sources - GIA, Complete Guide to Engagement Ring Settings — https://4cs.gia.edu/en-us/blog/guide-to-ring-settings/ - GIA, How to Protect Your Diamond from Chipping — https://www.gia.edu/gia-news-research/how-protect-diamond-chipping - GIA, Diamond Anatomy, Explained — https://4cs.gia.edu/en-us/blog/diamond-anatomy-explained/ - GIA, Engagement Ring Settings That Make a Diamond Look Bigger — https://4cs.gia.edu/en-us/blog/engagement-ring-settings-that-make-diamond-look-bigger/ - IGI, Laboratory Grown Diamond Report — https://www.igi.org/reports/lab-grown-diamond-report/
In the collection
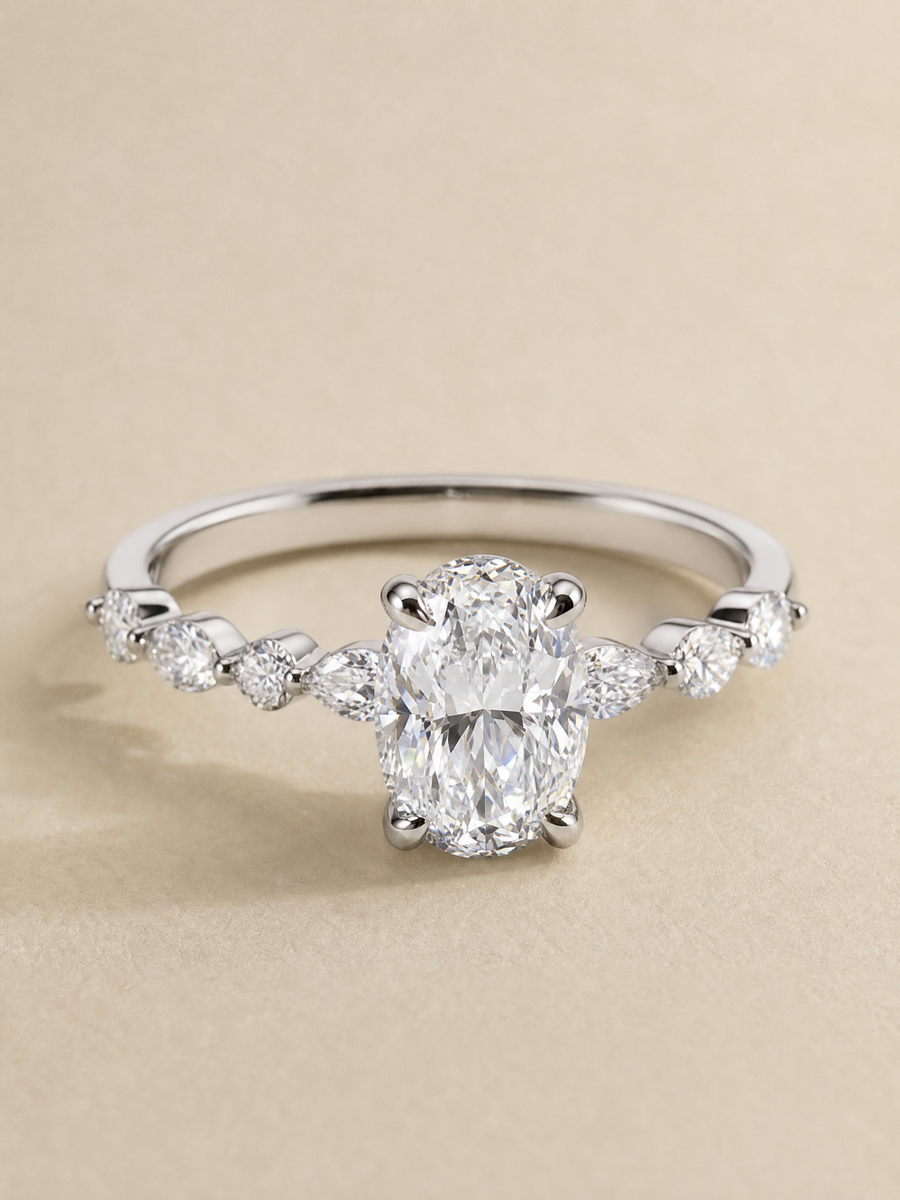
Platinum 950 Oval Brilliant Lab-Grown Diamond Ring - 1.22 ct Total
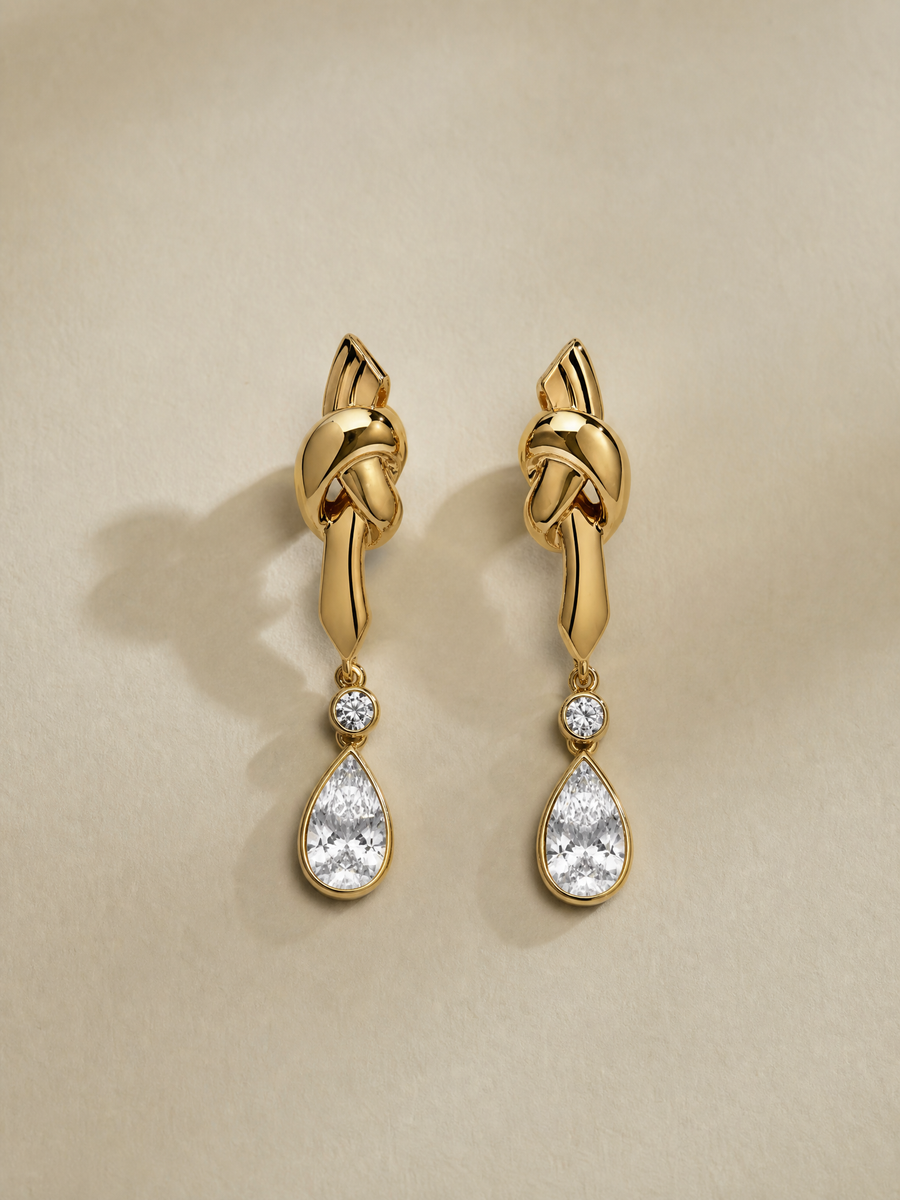
14K Yellow Gold Pear Lab-Grown Diamond Stud Earrings - 2.407 ct Total
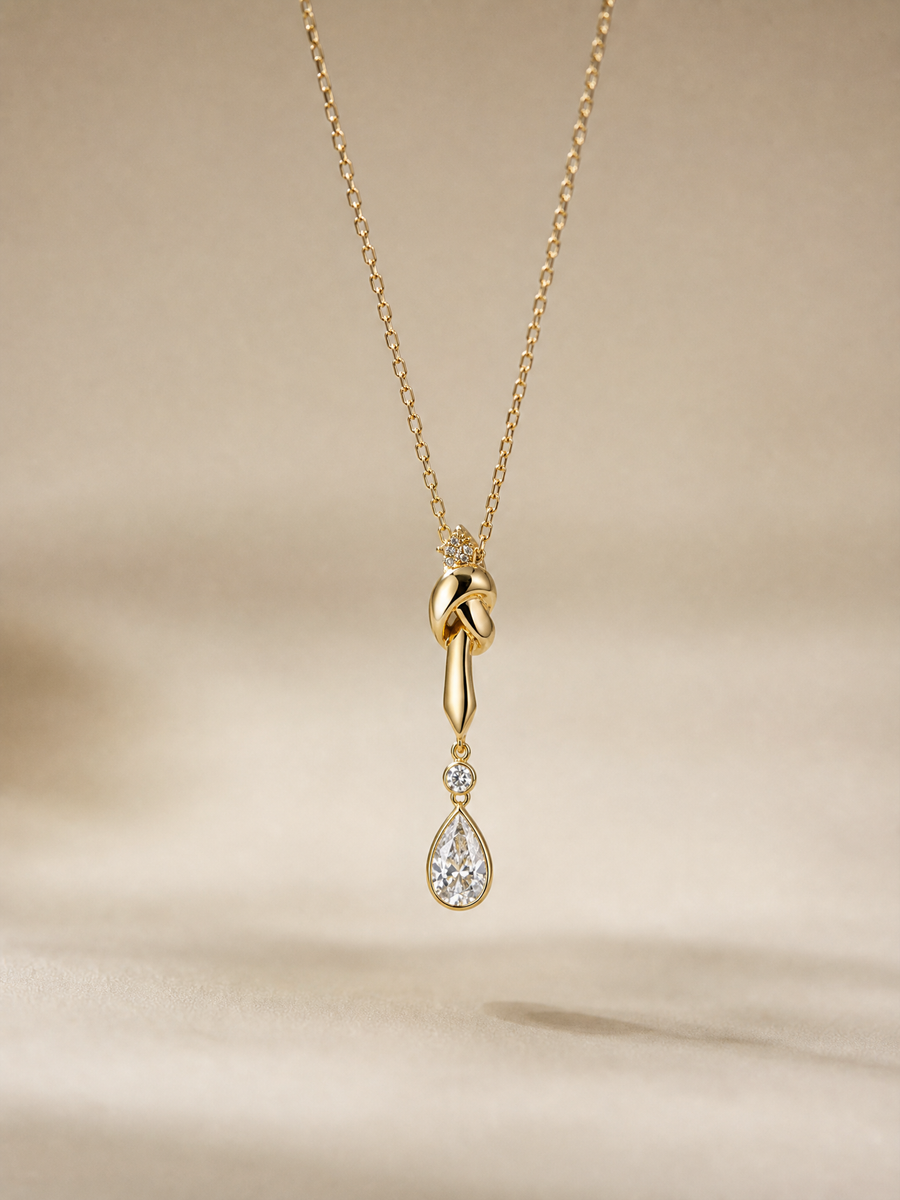
14K Yellow Gold Round Lab-Grown Diamond Necklace - 2.209 ct Total
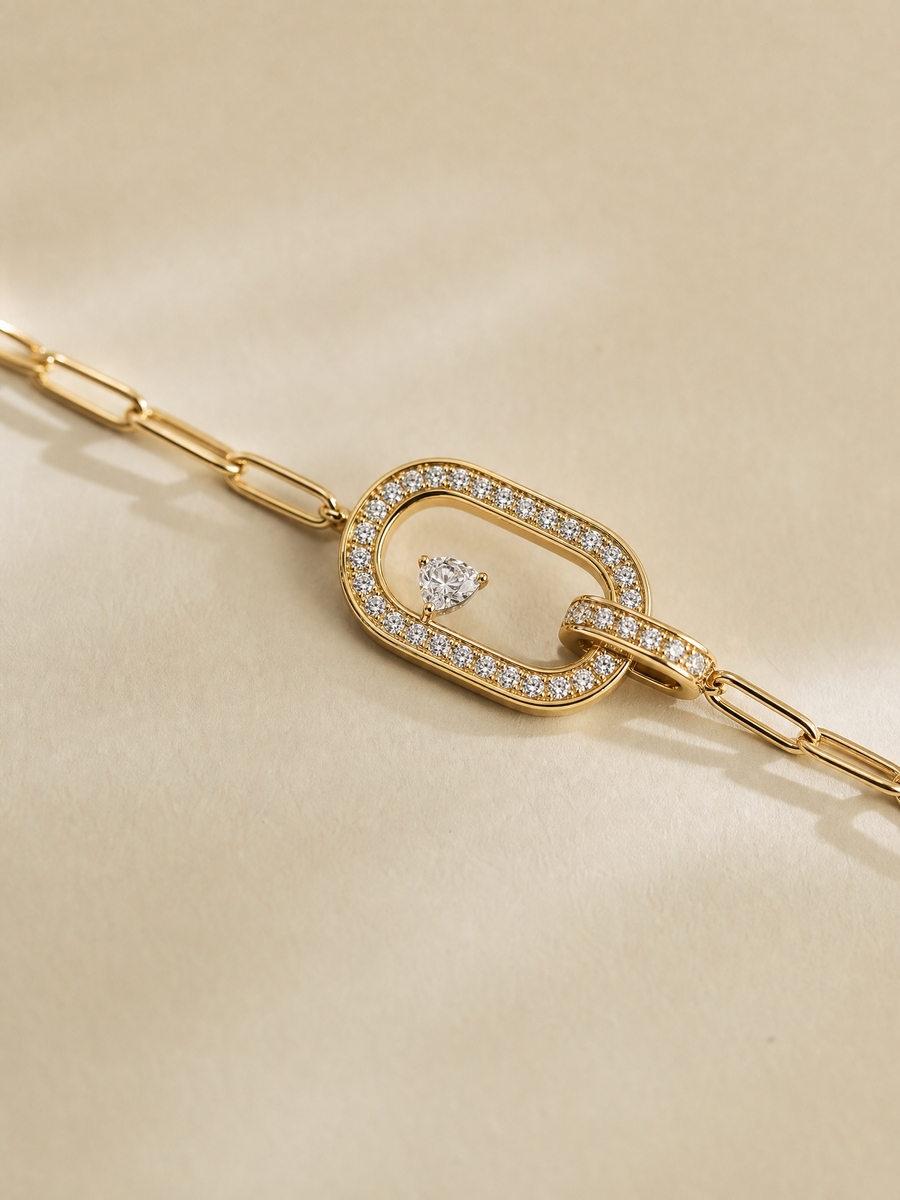
14K Yellow Gold Round Lab-Grown Diamond Bracelet - 0.633 ct Total
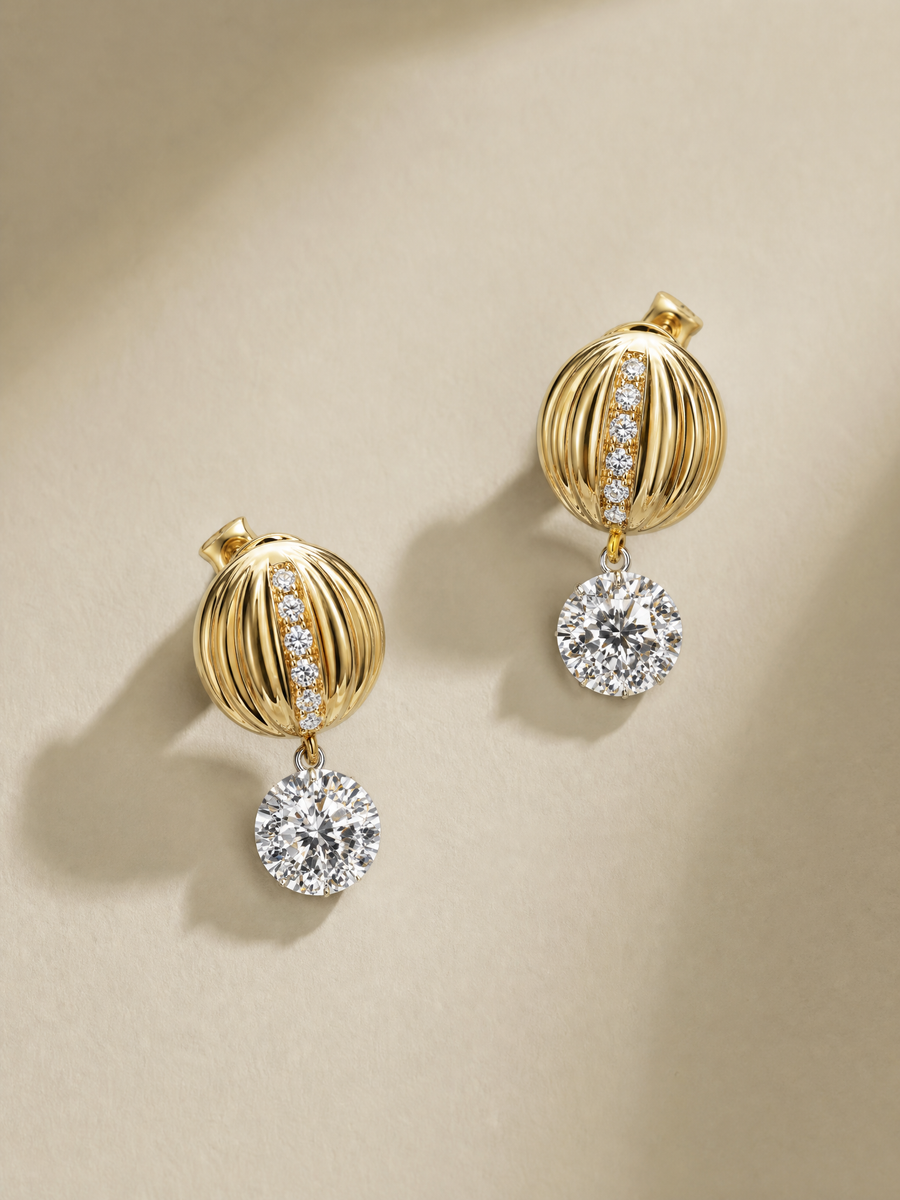
14K Two-Tone Gold Round Lab-Grown Diamond Stud Earrings - 1.654 ct Total
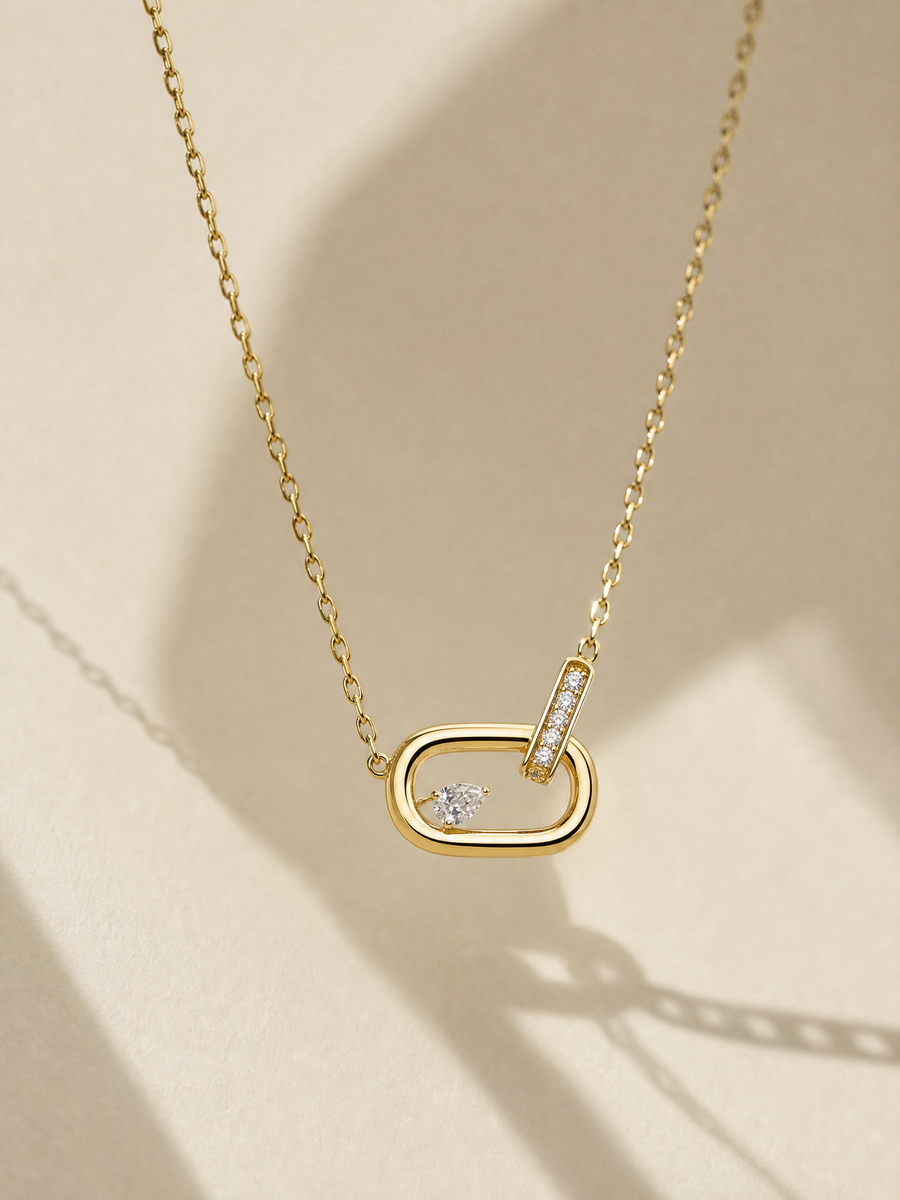
14K Yellow Gold Pear Lab-Grown Diamond Necklace - 0.245 ct Total

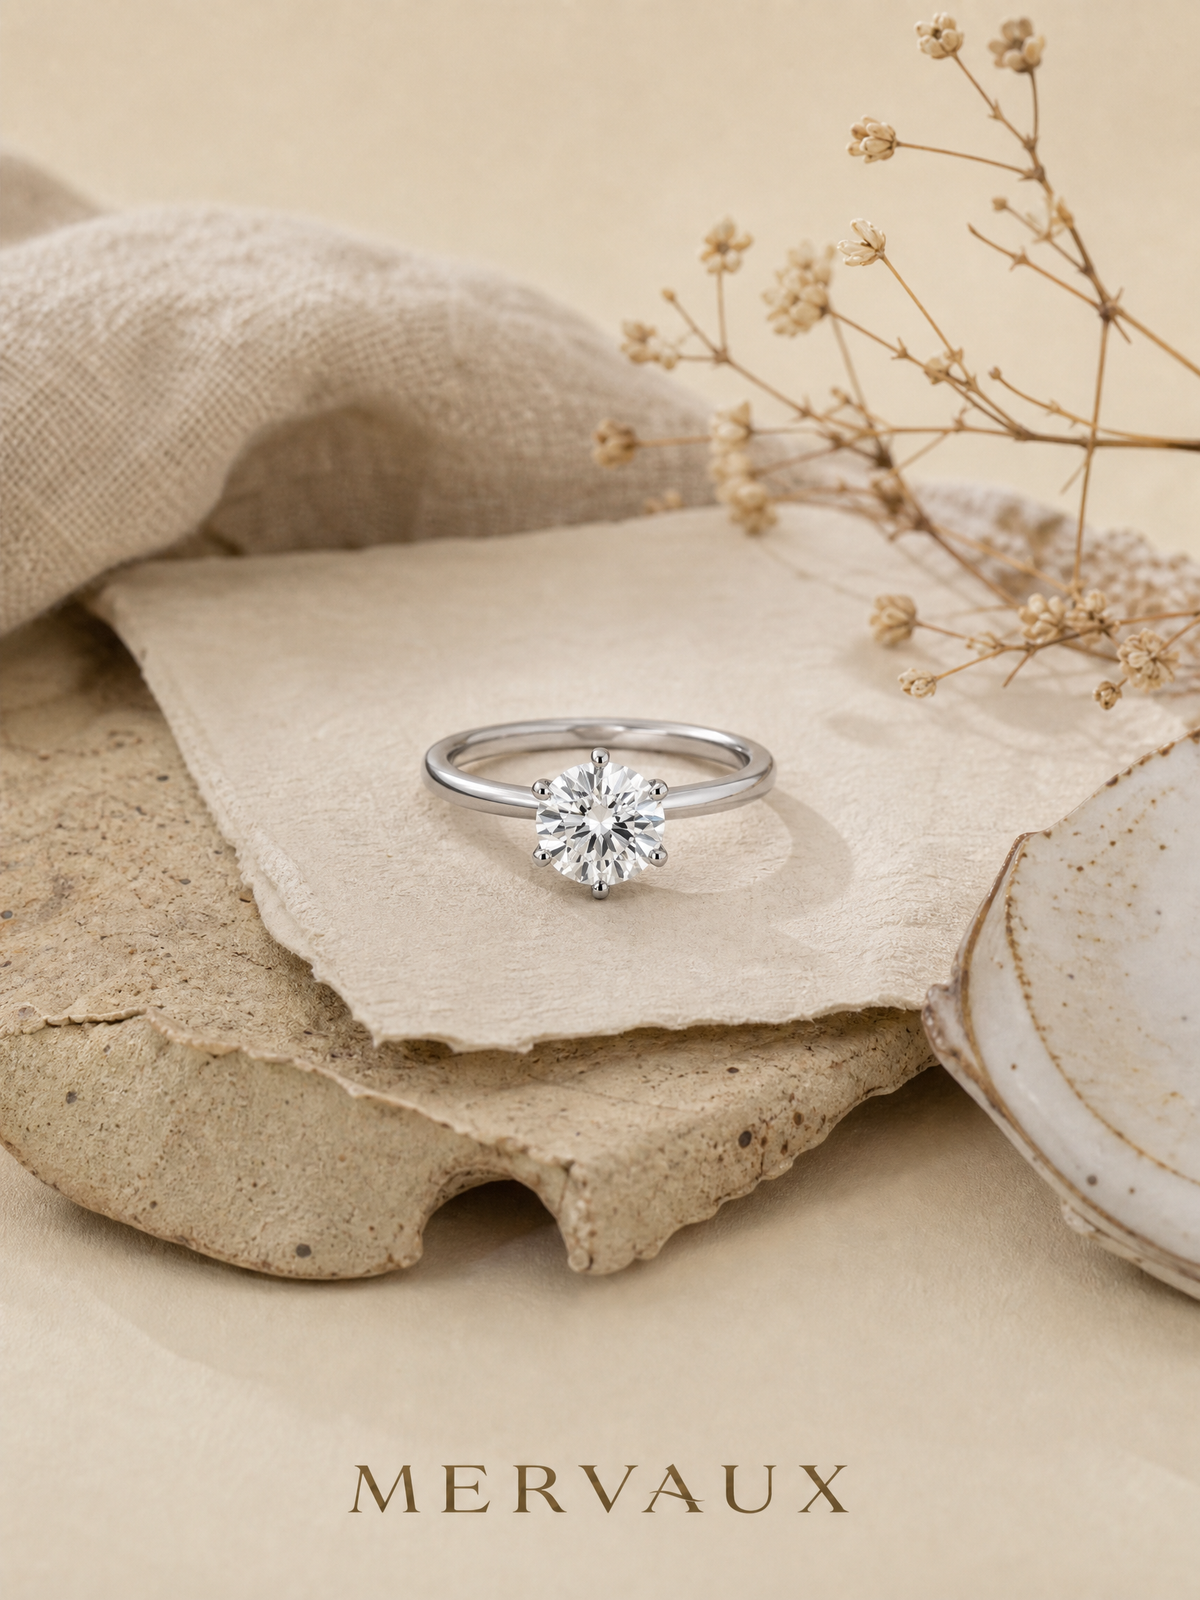
One note at a time.
New writing, new stones. Nothing else. Unsubscribe whenever you like.